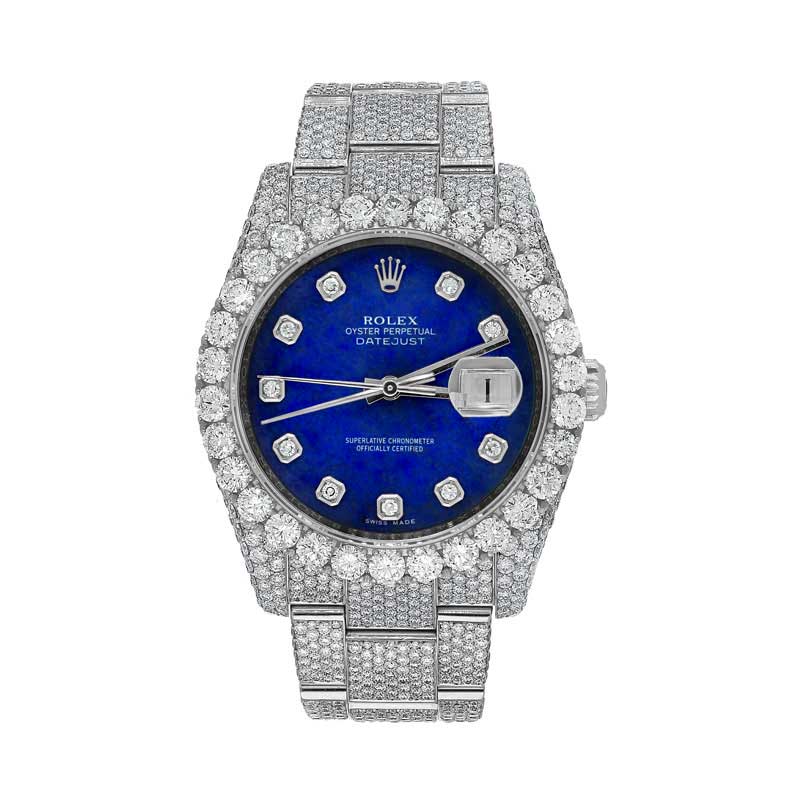
A watch combines almost every difficulty in product photography: a glass crystal that reflects everything, polished and brushed metal side by side, a tiny dial with fine print, and a bracelet with many small surfaces. The photograph has to show all of it clearly.
Control the crystal first
The glass over the dial will mirror the room, the camera and the lights. Work with large, soft sources and use black cards to keep reflections off the dial. Photograph from slightly above or at an angle that moves the remaining reflection away from the numerals.
Light the case and bracelet separately
Polished and brushed surfaces respond differently. Polished areas need soft light that produces a gradual highlight; brushed areas need directional light to show their grain. A multi-surface lighting setup lets you tune each one without affecting the others.
Make the dial readable
- Wipe the crystal immediately before shooting
- Set the hands to a conventional position so the dial looks balanced
- Focus on the dial and use a small aperture, or focus stacking, so that the case and bracelet are also sharp
Shoot the angles buyers expect
A standard watch set includes a front view of the dial, a three-quarter view, a side view showing case thickness and crown, the clasp or buckle, and the caseback if relevant. A turntable makes it simple to keep distance and angle consistent from watch to watch.
Add a 360° view
Watches are three-dimensional objects with a lot to inspect. A rotating view shows crown guards, lugs and bracelet links, and it works well on product pages.
Keeping a collection consistent
Brands and retailers rarely photograph a single watch; they photograph hundreds. Storing a light profile for each case finish, and shooting from fixed positions, keeps catalogues uniform. ALO has a dedicated approach for this: watch photography equipment with 360° turntable capture and multi-surface lighting for case, dial and bracelet.
See ALO for watches or ALO Photo Sphere.
Watch Product Photography: How to Light Case, Dial and Bracelet